Your Cart is Empty
FREE DELIVERY ON ORDERS OVER £50.00 - TO MOST UK POSTCODES
FREE DELIVERY ON ORDERS OVER £50.00 - TO MOST UK POSTCODES
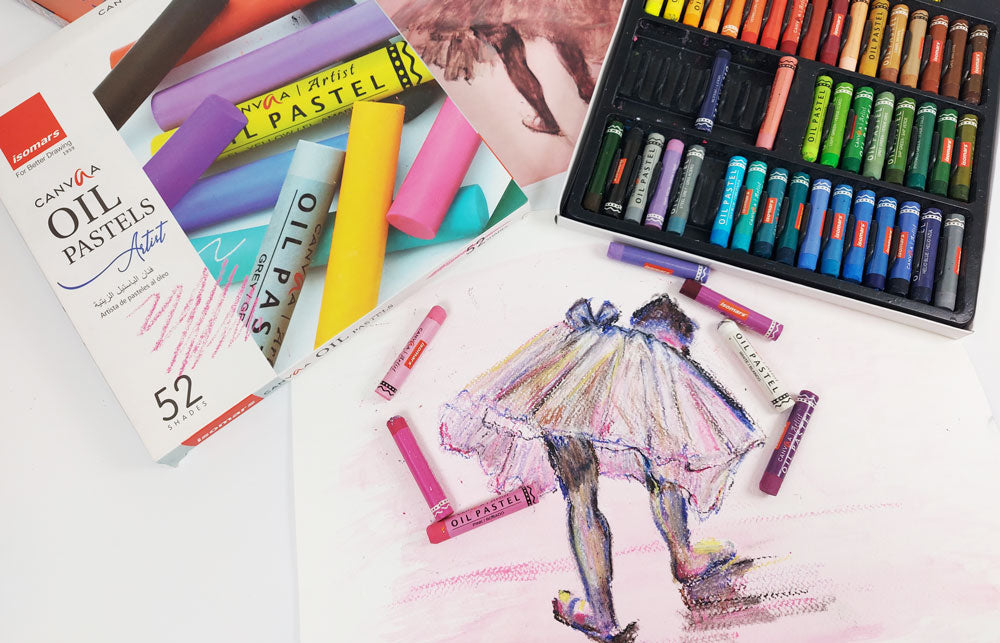
Oil pastels are a unique and vibrant medium in the realm of art, known for their creamy consistency and intense colour pigments. Composed of a blend of non-drying oil and wax, these pastels offer a smooth and buttery texture that allows for easy blending and layering on various surfaces, although if the surface you apply them to lacks absorbency, they will remain oily and tacky indefinitely.
Unlike traditional pastels, oil pastels may not require fixatives (it is a matter of choice) and maintain their flexibility and brilliance over time.
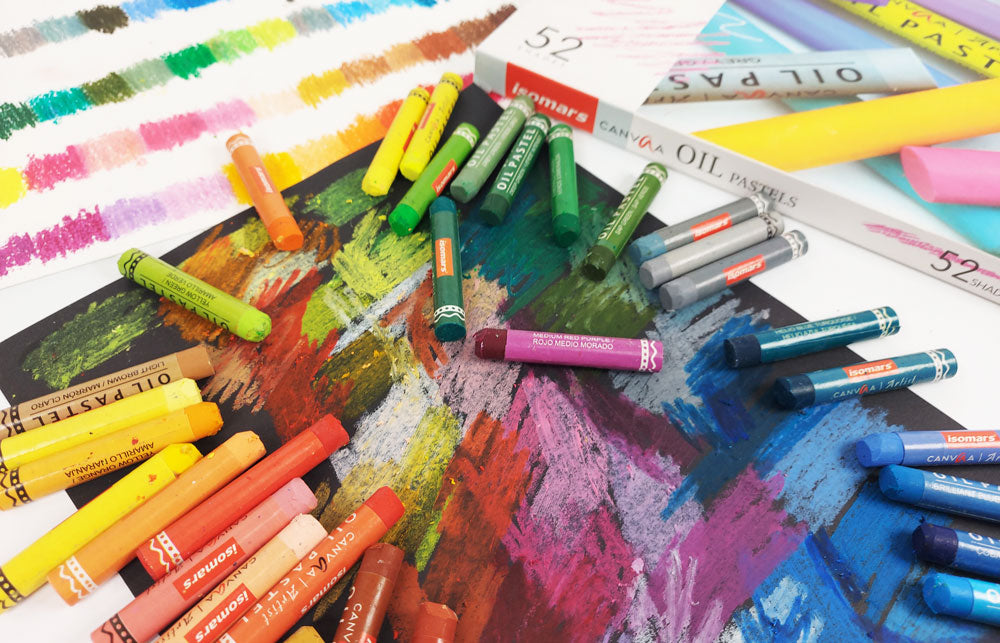
Artists appreciate their versatility, as they can be applied with the precision of a pencil or used for broader strokes, making them suitable for a range of artistic styles.
The ability to combine and mix colours directly on the surface adds to the expressive potential of oil pastels, making them a favoured choice for artists exploring bold and dynamic compositions.
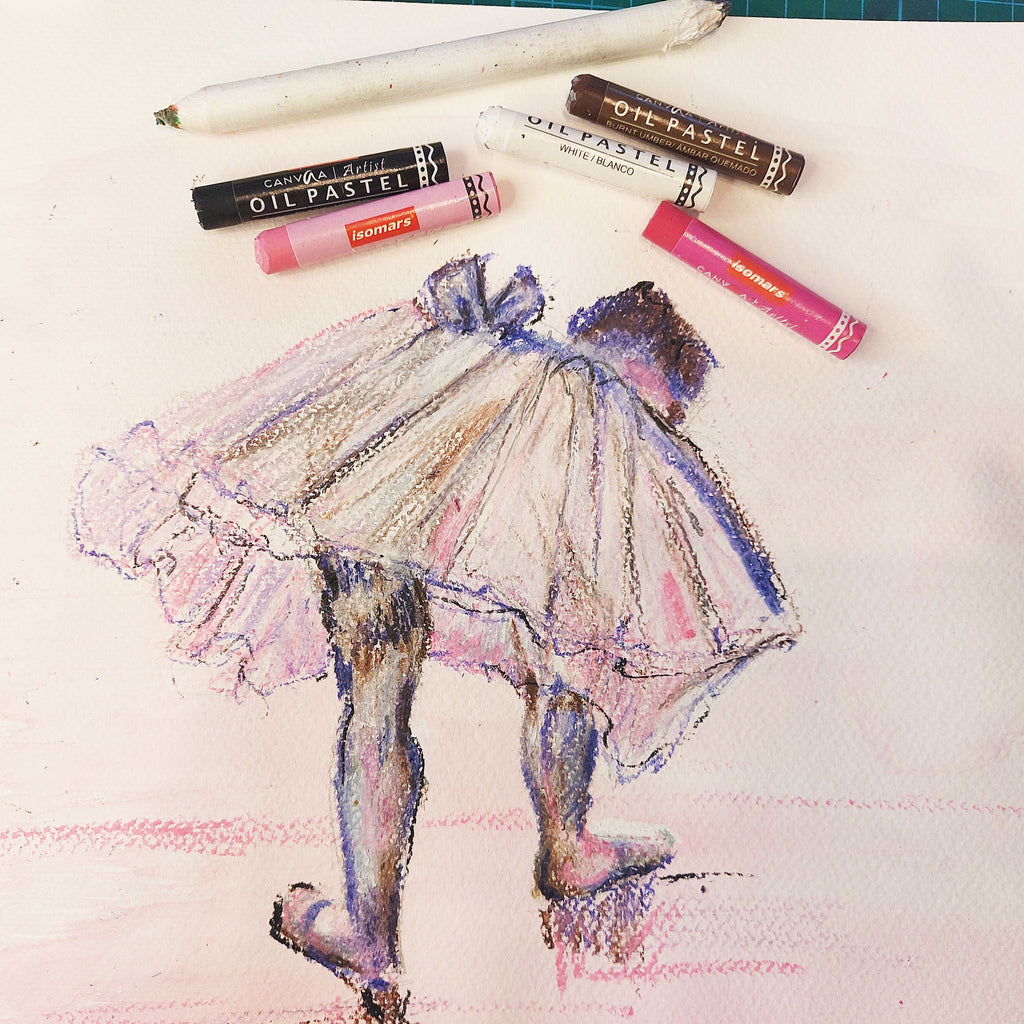
Most oil pastel paintings are framed behind glass for longevity. Oil Pastels can be applied to a variety of surfaces such as paper, canvas and wood. The less expensive ones may be a little harder in texture whilst the artist grade oil pastels should feel soft and buttery. If you are just starting out, there are many different brands on the market, we have listed a few with direct links to our website which will provide you with more information.
Beginners tips and techniques you can try with oil pastels.
Pastel paper: Similar to soft pastels, oil pastels must be used on the correct textured, medium to heavyweight pastel paper to ensure you are getting the best results with your oil pastels. The heavier the tooth of the paper the more the oil pastel will adhere. Soft applications of oil pastel will allow the texture and ground colour to show through if you have used a toned paper. When choosing a pastel pad it is advisable to choose one which has glassine paper to separate and protect your artwork. See links below to read more about substrates for oil pastels.
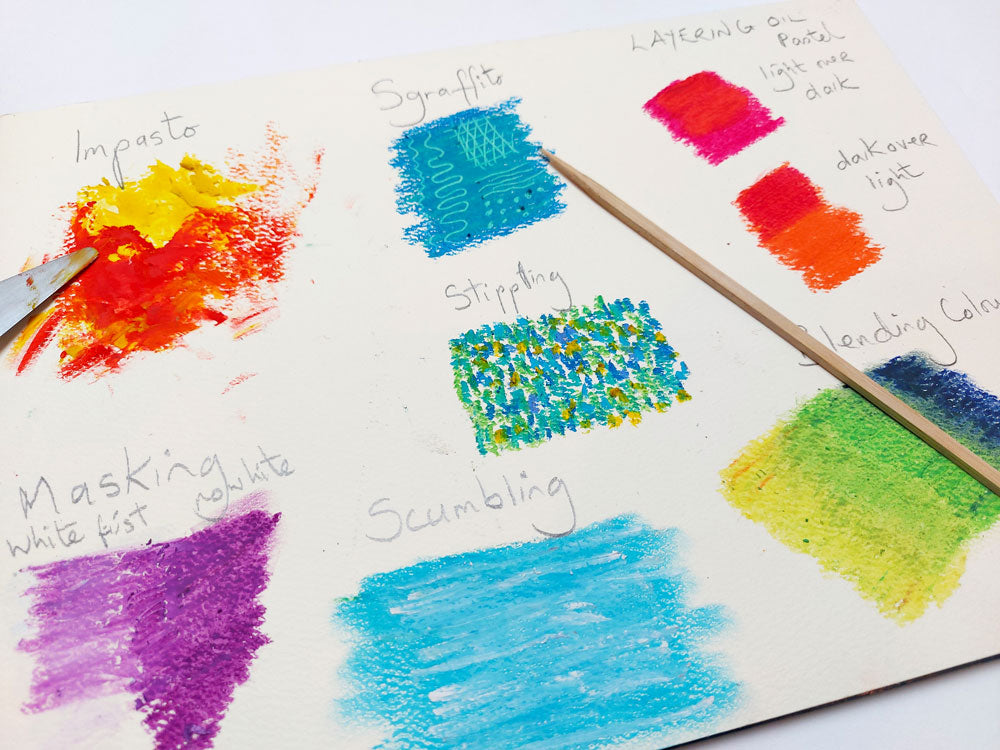
A heavier application of oil pastel will provide a more vivid and vibrant colour and provide the opportunity to use blending techniques.

Colour Layering: Apply layers of different colours to create depth and richness in your artwork. Experiment with blending two or more colours together by layering them on top of each other. Experiment with layering dark colours over light and vice versa. It is also very useful to make a colour chart and if possible write your colours or product number next to them. This will enable you to replace or identify them if you lose the label off your oil pastel. You will need to peel them off at some point when you need to use the full length of the stick, or when you have worn them down.
Blending: Blend colours directly on the paper using your fingers, cotton buds or blending stumps. Achieve smoother transitions by gently applying the pastels several times in layers.
Solvents can be used to blend the oil pastels on the paper, but be aware of their toxicity and always use them in a well ventilated area. Always wear gloves if blending with your finger tips. Rubber blenders (colour shapers) are also useful when blending small details.Colour Shaper Pastel Set - Size 6
Sgraffito:Scratch into the surface of the pastel with a pointed tool (such as a wooden stick or the end of a paintbrush) to reveal the layers beneath. This technique is great for creating texture and intricate details. For best results work a darker colour over a lighter colour.

Impasto:Apply the pastel thickly to create a textured, impasto effect. This technique adds a three-dimensional quality to your work. You could use an ARTessentials Palette Knife Set for Oils and Acrylics - 5 Piece for this technique, scraping the oil pastel off the bar and then laying it down. You do use a lot of the pastel using this technique, and the softer the pastel the easier it is to scrape onto the paper with your palette knife.

Scumbling: Apply a light, broken layer of pastel over a darker layer to create a hazy or cloudy effect. This technique can be used for creating atmospheric effects.
Watercolour Effect: (For more advanced Pastel artist ) Dissolve the pastel in mineral spirits or turpentine to create a more fluid, watercolour-like effect. Use a brush to apply the dissolved pastel to the paper. You can also paint the solvent onto your artwork with a small oil painting brush, but do not flood the paper with too much solvent. Be aware that solvents are highly toxic and need to be used in a well ventilated space and with protective clothing, gloves and a mask. You can use several items to apply the solvent with such as a small brush, or cotton buds. Working on small areas will ensure you do not ruin your artwork. Linseed oil also works to help blend the oil pastels. Keep your hand elevated above your work so you avoid unwanted smudges.
Masking:Apply a layer of clear or white pastel to the paper before adding other colours. This acts as a resist and can create interesting effects when other colours are applied on top.
Stencilling:Use stencils to create defined shapes or patterns. Apply the pastel over the stencil and then remove it to reveal the design.
Stippling Techniques:Placing dots of thick oil pastel colours next to each other similar to the Impressionists daubing is called stippling. This technique is great for creating textures for leaves, bushes or petals. Dots and dashes can be used to create a textured effect.
Fixatives: This is a personal preference, not all oil pastel artists spray their work.Keeping your painting under glass will provide enough protection against smudging and airborne pollutants. If you do wish however to spray your work, Sennelier d'Artigny Fixative for Oil Pastels 400ml is an excellent choice.
Oil pastels may take a while to master, so take your time and aim to throw caution to the wind, feel free to combine these techniques and discover your own unique ways of working with oil pastels. The forgiving nature of oil pastels allows for experimentation and exploration in your artistic process.
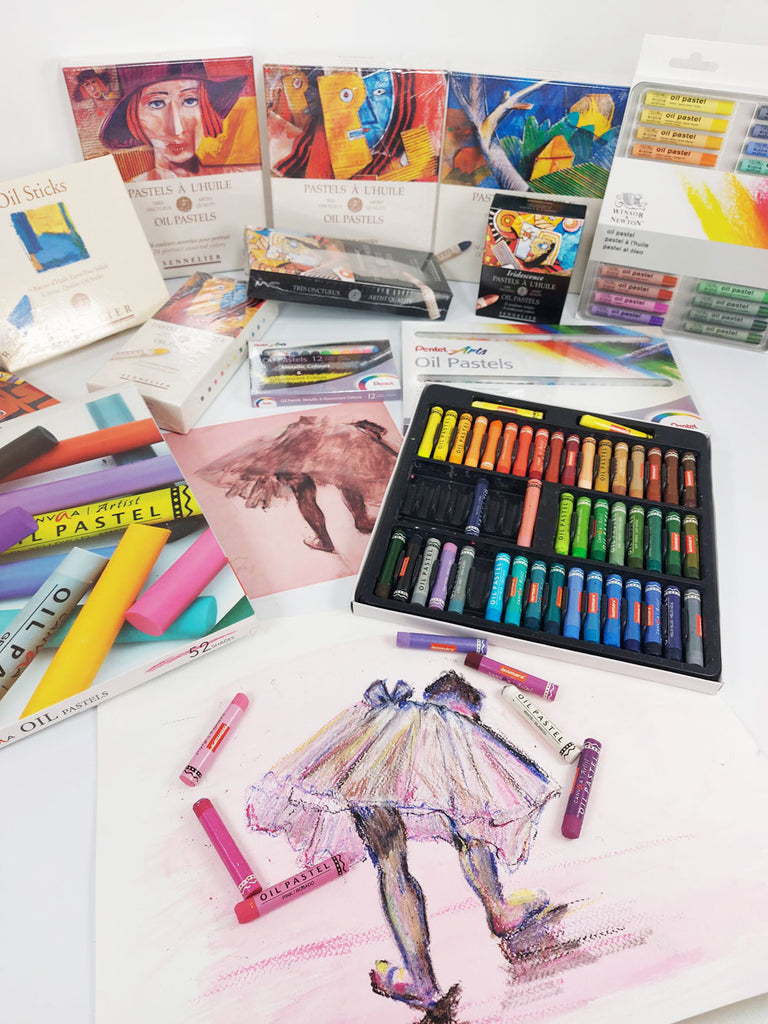
Oil Pastel brands
Beginners Oil Pastels
Artist Grade Oil Pastels
Here are some links to some excellent brands of pastel paper
Whilst dedicated oil pastel paper is the best to use for a professional finish, there are some excellent mixed media and watercolour papers that are kinder to your pocket whilst you are just starting out and learning how to use oil pastels.
The key to remember before buying paper for oil pastel use is;
While these alternative papers may not provide the same level of protection as glassine paper, they can still help safeguard your oil pastel artwork until you can obtain proper storage materials. It's essential to handle your artwork with care and store it in a cool, dry place away from direct sunlight to preserve its quality over time.

Accessories and storage for oil pastels

Comments will be approved before showing up.
MEEDEN is a company known for providing high-quality art supplies and tools to artists and enthusiasts. They are committed to inspiring creativity and supporting artistic endeavours through their range of products, which include Easels, Artist Supplies storage drawers, Table Easels, and Artists’ Print rack with castors.